Did you know that you can navigate the posts by swiping left and right?
Hashistack Raspberry Pi Cluster
18 Aug 2020
. category:
tech
.
Comments
#howto
#hashicorp
#nomad
#consul
#vault
HashiCorp have some great tools and i’ve used Terraform, Packer, Consul and Vault a lot in the past, but not so much Nomad. I’ve seen Nomad mentioned a few times recently in different places as a “simpler” orchestrator to run workloads than Kubernetes, so having great respect for the people at HashiCorp i thought i’d have a play around with it and see whats up.
I’ve got a few Raspberry Pi 3B+ hanging around so so i thought i’d use those to build a cluster.
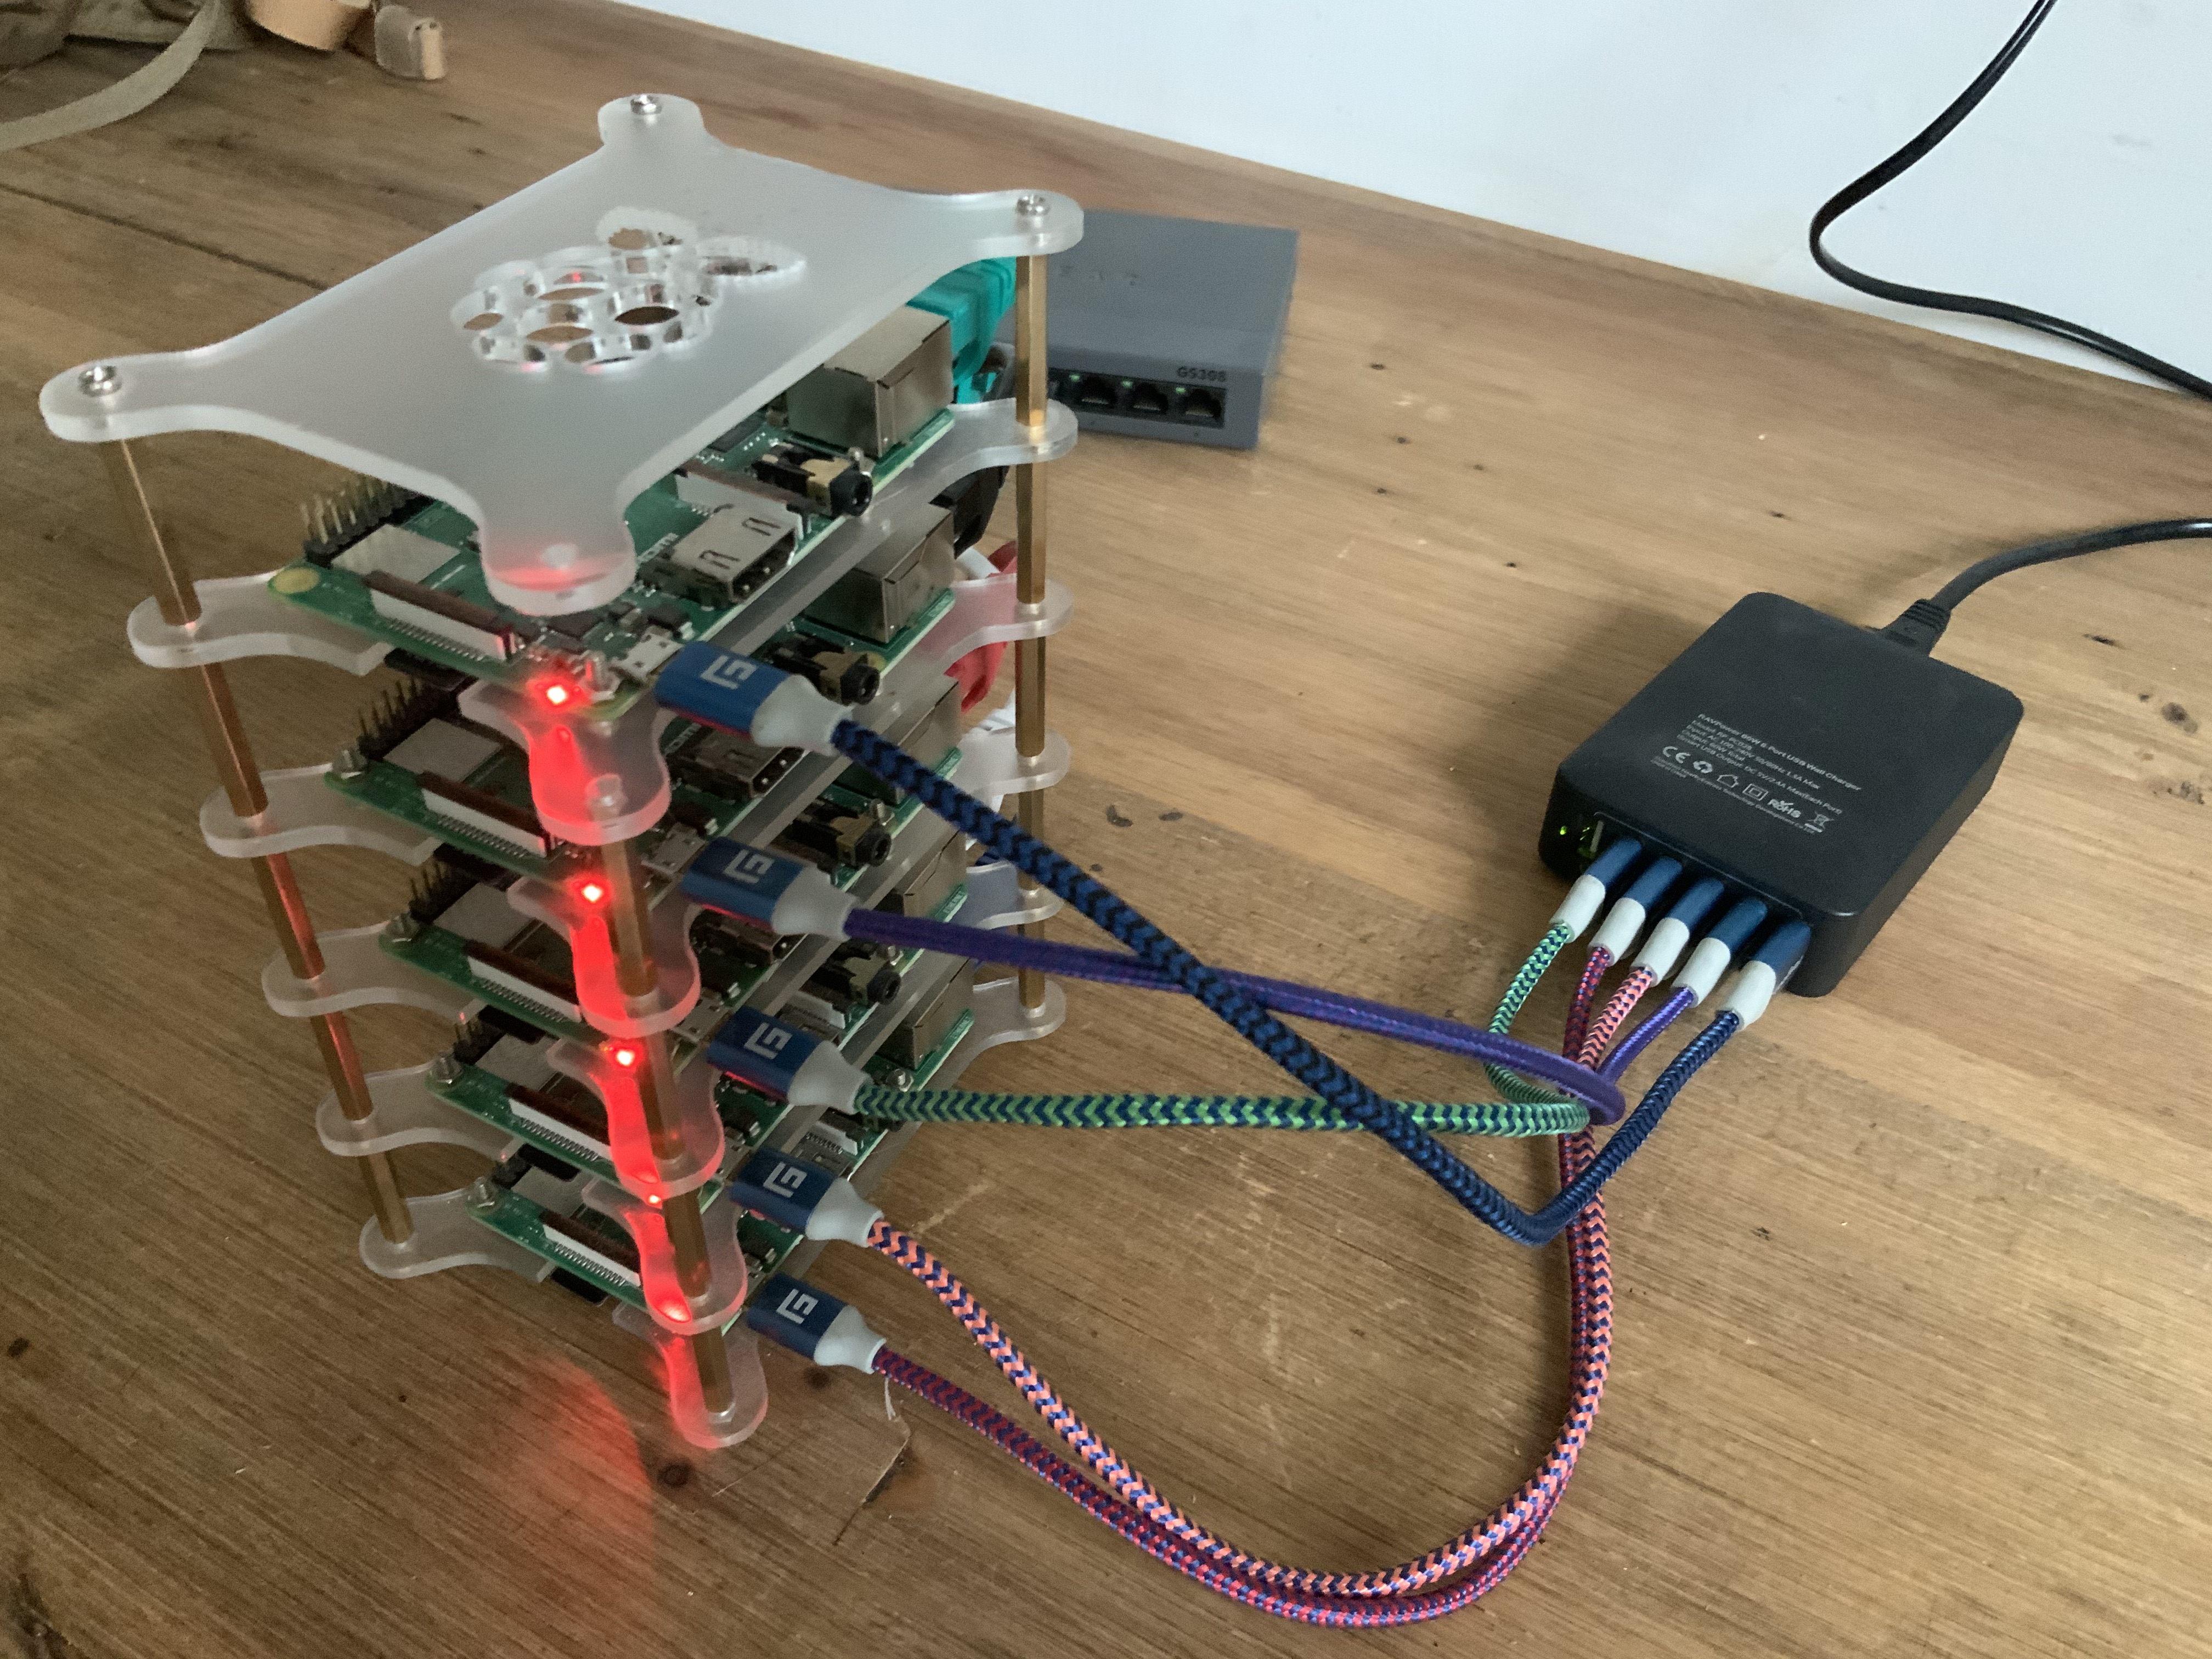
The goal was complete automation and immutability. To be able to image 5 identical SD cards, power on the Pis and end up with a functional Nomad cluster with some useful workload running on it, in this case Jenkins and its dynamic agents running in Nomad.
I have an existing NFS server on my home network so that will serve as persistent storage for Nomad jobs. This is kind of optional but I want somewhere to persist my Jenkins configuration because I intend to use Jenkins for builing ARM-based docker images and pushing them to the Docker Hub.
Really, i’d like the Pis to have completely dynamic addresses but for a couple of reasons this wasn’t possible (DNS reasons). In order to have static addresses i’ve added DHCP reservations on the home WiFi router and reserved 5 addresses on my network using the Pi WiFi MAC address.
Packer - Creating the SD Cards
Packer is a HashiCorp utility for building images for multiple platforms. It is commonly used to create AMIs in AWS, create VMWare machine images and such.
There is a community plugin for Packer for creating ARM images, which is what I needed for the Raspberry Pis. First build the plugin and install it locally:
git clone https://github.com/solo-io/packer-builder-arm-image
cd packer-builder-arm-image
go mod download
go build
mkdir -p ~/.packer.d/plugins
cp packer-builder-arm-image ~/.packer.d/plugins
The full packer template is available on bitbucket
There are some variables that need adjusting first before running Packer:
{
  "raspberry_pi_1_ip":"192.168.1.200", # Reserved addresses for the Raspberry Pis
  "raspberry_pi_2_ip":"192.168.1.201", # Order is not important
  "raspberry_pi_3_ip":"192.168.1.202", # Each Pi is exactly the same
  "raspberry_pi_4_ip":"192.168.1.203",
  "raspberry_pi_5_ip":"192.168.1.204",

  "nas_host_ip":"192.168.1.100", # The NFS server address on the local network
  "nas_host_share":"/c/nomad", # NFS export

  "consul_key":"`consul keyggen`", # Download consul for your platform and run "consul keygen". This is used for Gossip encryption.
  "vault_version":"1.5.0", # Versions of the HashiCorp tools to install
  "consul_version":"1.8.2",
  "nomad_version":"0.12.3",
  "terraform_version":"0.13.0",

  "raspbian_image_version":"2020-02-13", # Raspbian image to download and build on top of
  "raspbian_image_date":"2020-02-14",
  "raspbian_iso_checksum":"12ae6e17bf95b6ba83beca61e7394e7411b45eba7e6a520f434b0748ea7370e8"
}
Adjust these as appropriate for the local network.
Packer will install and configure the HashiCorp tools: Nomad, Consul, Vault and Terraform. Along with these, the Docker engine for running Nomad jobs and dnsmasq so that Consul service DNS can be exposed outside of the cluster.
Time to run Packer:
sudo packer build -var wifi_name=[your_wifi_ssid] -var wifi_password=[your_wifi_password] -var-file=variables.json pi-hashistack.json
This will take a while. Once completed, there is an image created in output-arm-image/image. This can be flashed to an SD card (on a Mac), like so:
diskutil unmountDisk /dev/disk2
sudo dd bs=1m if=output-arm-image/image of=/dev/rdisk2; sync
Once I have 5 freshly-flashed SD cards, insert and power on the Pis. The cluster should bootstrap itself and become available in a few minutes.
Bootstrap
There shouldn’t be any manual bootstrap to do for the cluster to become functional. What is happening during the boot sequence:
- The hostname of each Pi is made unique using the WiFi MAC address so Consul has unique node names before it starts
- Consul boots and waits until it has 5 peers and then bootstraps a new cluster
- Nomad server and client bootstrap once Consul is online
- Vault does the same and forms a new 5-node Vault HA cluster. Standard “vault operator init; vault operator unseal” commands to make it usable. I’ll probably write another post about this one as I see scope to automate that using either Nomad itself or Jenkins
- DNSMasq starts and forwards queries to Consul from any client on the local WiFi network
Accessing the Cluster
First, it is necessary to be able to resolve DNS from Consul on the local network.
This is simple on a Mac, create a file at /etc/resolver/consul with the contents:
nameserver 192.168.1.200
nameserver 192.168.1.201
nameserver 192.168.1.202
nameserver 192.168.1.203
nameserver 192.168.1.204
This will route DNS queries for *.consul to each of the Raspberry Pis, on which dnsmasq is installed and running routing requests to Consul itself.
HashiCorp have guides for doing this for various operating systems
http://nomad.service.consul:4646 should now be accessible on the local network.
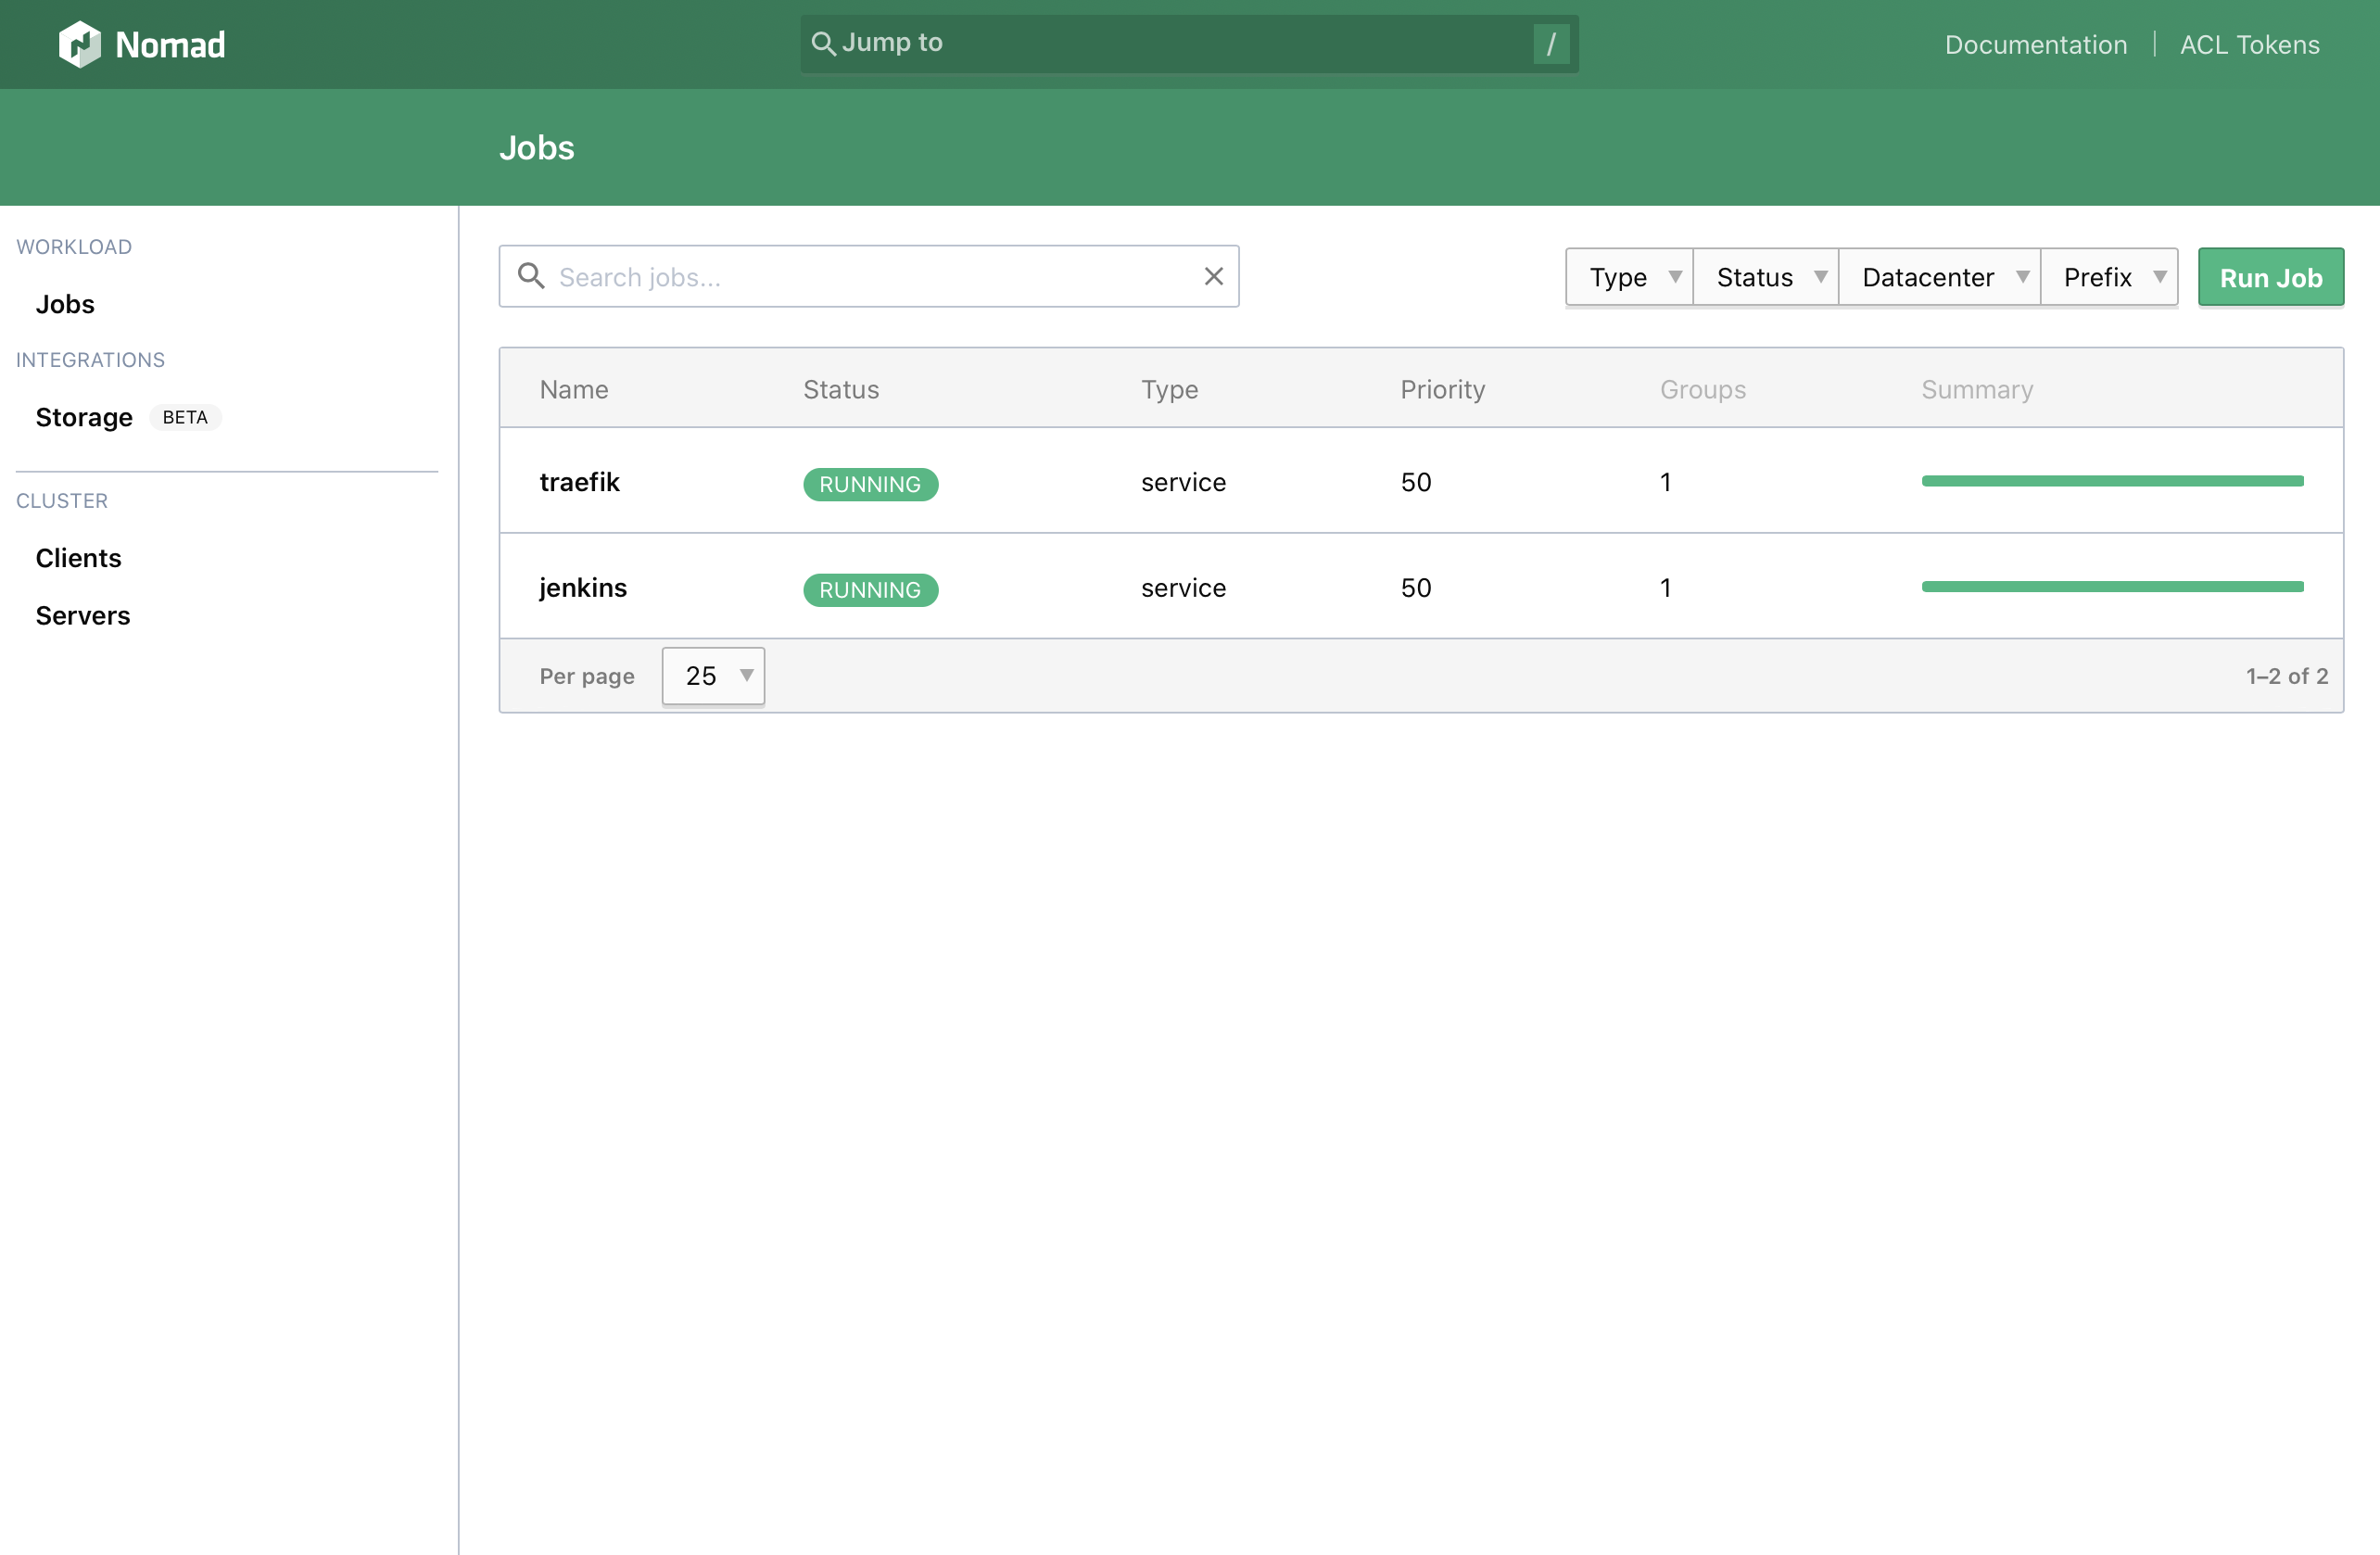
I’m using this cluster for learning a bit of Nomad, building and pushing some ARM Docker images using Jenkins and testing with HashiCorp Vault.
I will add more posts about how to deploy applications to my new cluster over time, as i want to further automate some more deployments and learn a bit about some other applications.